 Ms. Lê Thị Ánh Trinh
Homemade natural aloe vera gel is popular with women for its moisturizing benefits in skincare and body care. Making your own gel helps ensure 100% pure skincare while saving money on expensive products. In this article, GC Food will walk you through how to make aloe vera gel safely for everyday use.
1. About Natural Aloe Vera Gel
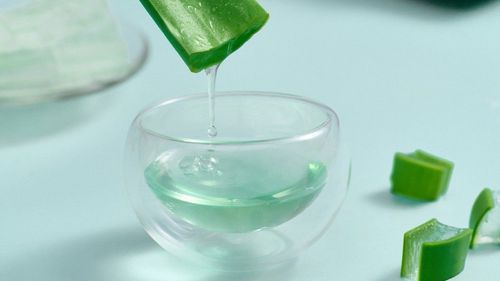
Natural aloe vera gel (also called aloe gel) is the clear, jelly-like part inside the leaves. Packed with vitamins A, C, E, B12, minerals, enzymes, and amino acids, this soothing gel is great for skincare. It deeply moisturizes, soothes sunburn, helps with acne, and improves skin’s elasticity.
Making the gel yourself means you know it’s 100% pure, with no preservatives or chemical additives. That way, you can get all the skincare benefits it has to offer.
2. Guide to Making Clean, Bacteria-Free Aloe Vera Gel
2.1 Ingredients and tools
You’ll need:
1 natural fresh aloe leaf (about 60ml of gel)
Vitamin C powder (500mg)
Liquid Vitamin E (400IU)
1–2 tablespoons of pure honey
A knife and a spoon
A blender
A glass or ceramic jar
A bowl and a cup
A strainer (or clean cheesecloth)
A clean towel or paper towels
To keep your homemade aloe gel clean and make it last longer, make sure to sterilize your tools. Just wash them well, quickly dip them in boiling water, and let them cool before you get started.
Also, it’s best to go for organic aloe or ones from a clear source to cut down on pesticides. Try to pick big, thick, and juicy leaves because they give the best gel.

2.2 Directions
To get rid of the yellow sap that can irritate your skin, follow the steps below:
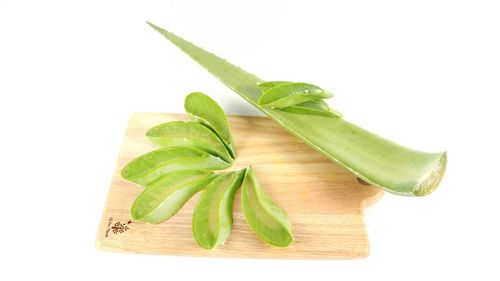
2.2.1 Wash the aloe leaves
Wash your aloe leaves to remove dirt, then dry them with a clean towel or paper. Cut off 2–3 cm of the base and stand the leaves in a cup or bowl for 15–20 minutes to drain the yellow sap. This sap contains aloin, which can irritate your skin, making it itchy or red. Rinse the leaves again to make sure they’re extremely clean.
2.2.2 Take out the aloe gel
Trim the spiky edges. Lay the leaf flat and carefully peel off the green skin. Then, use a small spoon or the edge of the knife to scoop out the gel, and put it into a blender.
2.2.3 Blend the gel
Blend the gel on low for about 30 seconds until it’s frothy and becomes a smooth, thickish liquid.
Add all the Vitamin C and E to the aloe gel you’re blending (60ml gel = 500mg Vitamin C + 400IU Vitamin E). Then, blend lightly until well mixed.
Strain the gel through a sieve or cheesecloth for smoothness. Finally, pour it into a sterilized jar, and it’s ready to use!

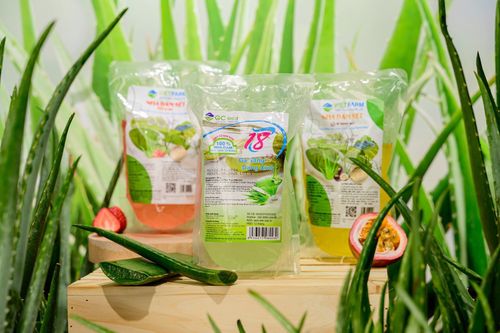
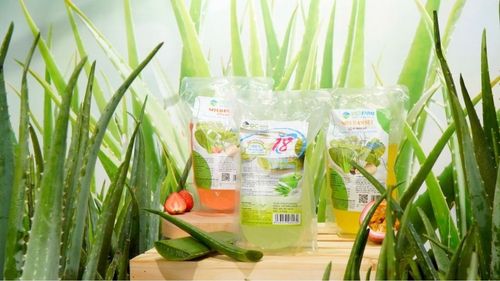
The recipe is suggested by the GC Food team, known for our high-quality coconut jelly and natural aloe vera products that meet international standards, all aimed at bringing happiness through food.
3. Dos and Don’ts for Your Natural Aloe Vera Gel
To stay safe and get the most out of the gel, keep these tips in mind:
Don’t use on open wounds: Aloe gel works well on burns or minor cuts, but never apply it to deep open wounds or blisters. It can irritate your skin and slow down healing.
Remove all the yellow sap: If you don’t clean the aloe well, applying the gel can cause itching, redness, or even a rash.
Don’t use on sensitive skin: Dry or sensitive skin might tingle a bit at first. But if it starts to burn or feels uncomfortable, stop using it right away.
Use sunscreen: The gel can calm sunburn, but it won’t block UV rays. Always apply sunscreen when you go outside.
Homemade natural aloe vera gel has no chemicals, so you need to store it carefully to keep its nutrients and avoid bacteria. Keep it in an airtight jar in the fridge and use it within 1-2 months.
If the gel turns yellow or brown, smells sour or off, or shows any mold or unusual film, just throw it away.
We hope this step-by-step guide helps you feel confident making your own clean, safe natural aloe vera gel at home. Don’t forget to remove all the yellow sap and keep it in the fridge so it stays good for longer.
Looking for high-quality natural ingredients? Check out GC Food’s aloe vera and coconut jelly products. They’re all made to international standards, and you can find them in the “About GC Food” section.
This article is written by the GC Food team – experts in natural ingredients.