 Ms. Lê Thị Ánh Trinh
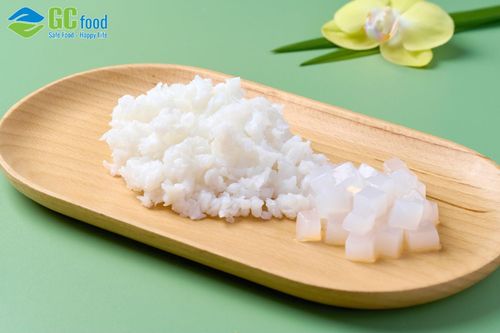
Nata de coco yogurt is a refreshing dessert that combines fermented yogurt with chewy coconut jelly. The main ingredients include yogurt and nata de coco, with optional additions like basil seeds or fresh fruits to suit personal taste. The smooth creaminess of yogurt pairs with the light, chewy texture of coconut jelly, creating a delightful contrast in every bite.
1. What is nata de coco yogurt?
Nata de coco yogurt is a popular dessert, especially enjoyed on hot days for its light and refreshing taste. It combines naturally fermented yogurt, known for its mild tang and gentle creaminess, with chewy coconut jelly that adds a pleasant, crunchy bite.
This dessert is typically served chilled to preserve its refreshing flavor and can also be topped with dried coconut or a drizzle of honey to enhance the taste. Beyond its delicious flavor, coconut jelly yogurt may also support digestion and contribute to healthier-looking skin when enjoyed regularly.
2. Nutritional benefits of nata de coco yogurt
Yogurt contains billions of beneficial probiotics that help balance the digestive system and improve nutrient absorption. It is also rich in antioxidants, which support immune health and contribute to healthier skin and stronger bones.
In addition, coconut jelly is a form of cellulose - a type of dietary fiber similar to that found in green vegetables. It helps stimulate intestinal movement, supports the removal of waste from the body, and promotes more efficient digestion. Nata de coco also contains amino acids and essential minerals that are beneficial for hair and skin.
With its low-calorie content, high fiber levels, and minimal unhealthy fats, nata de coco yogurt has become a nutritious snack enjoyed by many. Thanks to these benefits, it is considered a dessert that can contribute positively to overall health.
3. Ingredients for making nata de coco yogurt at home
3.1 Yogurt base
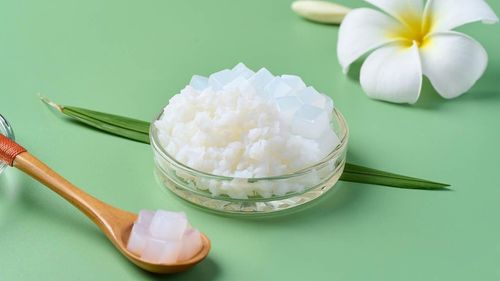
3.2 Coconut jelly
4. How to make nata de coco yogurt
4.1 Step 1: Prepare a smooth and creamy yogurt base
- Start by preparing a large, clean, and completely dry bowl, then add half a can of sweetened condensed milk. Slowly pour in 450 ml of boiling water while stirring continuously so the condensed milk dissolves fully without clumping or sticking to the bottom.
- Once the mixture becomes smooth, add 1 liter of sweetened fresh milk and stir again until everything is well combined, creating a rich and fragrant milk base.
- Gently stir the plain yogurt starter until smooth, then slowly pour it into the milk mixture while stirring slowly. This helps distribute the yogurt cultures evenly throughout the mixture.
- After mixing, pour the yogurt mixture into small glass jars and close the lids. Prepare an insulated container, fill it with hot water, place the jars inside, and cover tightly to incubate for about 6 - 8 hours.
- During this time, the yogurt cultures will ferment the milk, thickening the mixture and creating its naturally mild tangy flavor. Once the incubation is complete, transfer the jars to the refrigerator to chill, allowing the yogurt to set into a smooth and refreshing texture.
4.2 Step 2: Make clear and crispy nata de coco jelly
- First, mix the agar powder and sugar according to the ratio indicated on the package, stirring well to ensure the powder dissolves evenly during cooking and does not form lumps.
- Heat 1 liter of fresh coconut water in a pot until it reaches a boil, then reduce the heat and gradually add the agar and sugar mixture while stirring continuously. Keep stirring until the powder dissolves completely and the liquid becomes clearer with fewer bubbles. Skim off any foam on the surface so the jelly sets with a clear appearance.
- Once the mixture comes to a boil again, turn off the heat, then add pandan leaf extract or a small amount of food coloring if desired, stir well, and pour the mixture into molds. Let it cool until the jelly sets, then place it in the refrigerator to make the texture firmer and crispier.
- After about 3 - 4 hours, remove the jelly from the molds and cut it into small cubes or long strips, making it easier to mix with the yogurt.
4.3 Step 3: Assemble the nata de coco yogurt
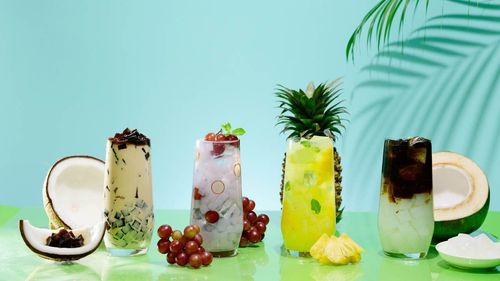
Take the chilled yogurt and place it in a serving bowl, then add a few spoonfuls of coconut jelly on top. For extra richness, you can drizzle a little sweetened condensed milk or coconut milk over the dessert. You may also add fresh fruits or basil seeds to bring more color, texture, and flavor to the dish.

5. Nata de coco yogurt with honey variation
5.1 Ingredients (For 1 serving)
5.2 How to make nata de coco yogurt with honey
- Place the yogurt in a glass and gently stir until it becomes smooth and creamy, then add the chopped coconut jelly on top.
- Finally, drizzle one tablespoon of honey over the yogurt to create a light, natural sweetness and pleasant aroma. Before enjoying, mix everything well so the honey blends evenly with the yogurt, creating a refreshing and easy-to-enjoy dessert.

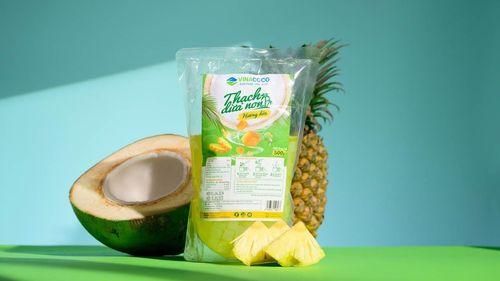
If you are looking for high-quality coconut jelly, you may consider products from reputable manufacturers such as G.C Food Joint Stock Company. GC Food’s coconut jelly products are known for their consistent quality and natural taste, helping enhance the flavor of nata de coco yogurt. With GC Food’s packaged coconut jelly, you can conveniently use it at home, saving preparation time while still enjoying the signature light and chewy texture.
6. Tips to prevent whey separation in nata de coco yogurt
Whey separation in yogurt often occurs when the incubation temperature is too high or when the utensils and ingredients are not properly prepared. Below are some common causes and practical tips to help you avoid this issue.
- Incubation temperature: Yogurt should be incubated for about 6 - 8 hours at around 40°C (warm to the touch but not hot). If the temperature is lower, the incubation time may need to be extended. Beginners may find it helpful to use a yogurt maker or an oven with a stable temperature setting. Avoid using a rice cooker for incubation, as the temperature can be difficult to control.
- Utensils and ingredients: Make sure all utensils are sterilized before use, and choose fresh, full-cream milk for better results. Allow the yogurt starter to reach room temperature before mixing it with the milk, and stir gently and evenly to help prevent whey separation.
7. How to store nata de coco yogurt
Nata de coco yogurt should be stored in the refrigerator at around 6 - 8°C to maintain its freshness and quality. Avoid leaving it at room temperature, as the yogurt can quickly become runny and lose its texture. If serving it to children, it is also recommended not to store the yogurt in the freezer, as the extremely cold temperature may irritate the throat.
8. Frequently asked questions about nata de coco yogurt
8.1 How many calories are in a serving of nata de coco yogurt?
A 100 g serving of nata de coco yogurt provides approximately 104 kcal, which is considered a moderate amount of energy suitable for a light snack or a post-workout treat. However, the exact calorie content may vary depending on the recipe, particularly the amount of sugar used and the proportion of coconut jelly added. For those who are mindful of weight management or following a balanced diet, it is advisable to pay attention to ingredients and portion sizes to better control calorie intake.
8.2 Can you make nata de coco yogurt without a yogurt maker?
Yes, you can easily make yogurt at home without a specialized yogurt maker. You can use common household items such as a rice cooker, insulated foam box, oven, or stainless steel pot to incubate the yogurt for about 6 - 8 hours. The most important factor is maintaining a stable temperature of around 40°C, which allows the yogurt cultures to work effectively and helps the yogurt set smoothly.
For more information about coconut jelly products, quality control processes, and the company’s key achievements, you can visit the GC Food introduction page. You can also explore many updated recipes and food ideas on GC Food’s official website.
This article was prepared by Le Thi Anh Trinh from the GC Food Communications Department, specializing in compiling and sharing in-depth knowledge about aloe vera and nata de coco ingredients and production processes.